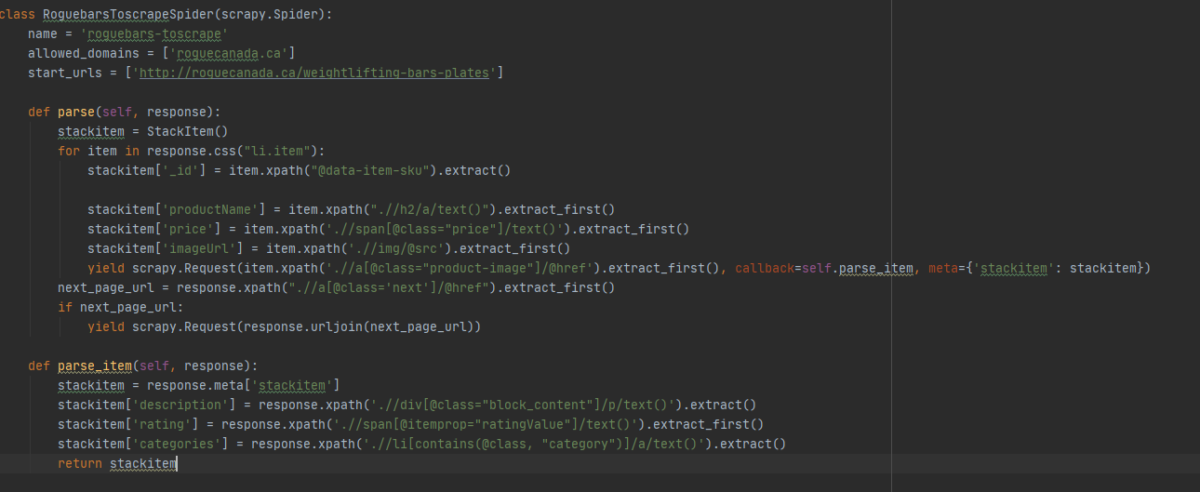
So often my posts end up being philosophical discussion on the whys and wherefores of code, so this week I’ve decided to share a bit of my knowledge for the person interested in getting into the wild world of building a web scraper using Scrapy (it’s easier than you think, I promise).
What Scraping provides
It wouldn’t truly be a post by me if I didn’t discuss the whys and wherefores a little bit, so if you’re already convinced and want to dive into the nitty gritty, feel free to skip ahead to the next section.
If you’re not quite convinced, let me extol the benefits and virtues a little bit. So, let’s say you have a plan or project idea that will be data driven, whether through data analysis, or some database driven application. However, being the unique and creative individual that you are, your idea is so unique that nobody has gone to the trouble of packaging up all that data into a convenient JSON/CSV/API for you to use at your leisure. Or the data that’s out there is stale, not in depth enough, or wrong. Well, if the data you want exists on a web page somewhere, then you’re in luck, web scraping can be your knight in shining armor.
But enough abstract blithering, lets use a real example from something I actually made. Let’s say you have the brilliant idea to make a website that will allow users to search, list, and track gym equipment that is for sale online, as well as its price fluctuations so you can predict if an annual sale is coming soon. Unfortunately, while the gym equipment companies all have convenient websites to purchase the equipment from, they do not provide you with a nicely formatted dataset file for you to peruse and manipulate. But no matter, you are a strong, independent developer who don’t need no premade datafile, because you can make your own with a web crawler.
Getting Started (finally)
So, let me walk you through the ‘how’. If you’re currently a student, you likely qualify for the GitHub Student Pack (or GSP if you’re hip), which I highly recommend given the massive amount of free goodies that you can get. I’ll be using two of those free goodies to walk you through how to build a web crawler, but everything in this guide can be done without the benefits, and I’ll note where the differences are.
So, the tools being used will be JetBrain’s Python IDE Pycharm, and the website ScrapingHub. If you have a GSP, you can get Pycharm Professional Edition for free, as well as access to a free Professional tier ScrapyCloud account on ScrapingHub. If you don’t have the pack, don’t despair, the free Community Edition of Pycharm and a free tier account will function just as well, and can handle your low to mid level projects.
If virtualenv, pip, and conda are like second nature to you, feel free to skip this paragraph, but if you’re new to Python and Python environments, then I recommend that you install PyCharm with Anaconda, in which the fine folks at JetBrains have bundled and automatically installed an Anaconda plugin, which will take away the hassle of needing to play in the command line trying to config your virtual Python environments, and instead jump straight into the intense coding action! Just make sure to click the ‘Install Miniconda’ option when you first open Pycharm while you’re setting your initial preferences. If you’re curious to know what Anaconda is, it’s simply a convenient combination of a virtual environment and package/dependency manager for your Python projects (think Docker + npm wrapped up into one convenient package).
Once you have Pycharm and Anaconda installed, you’re ready to get started. If you’re a seasoned Python veteran, feel free to use pip/virtualenv, but for the purposes of making this guide more accessible to newcomers, the guide will be using Conda.
(Actually) Getting Started
Step 1: From Humble Beginnings
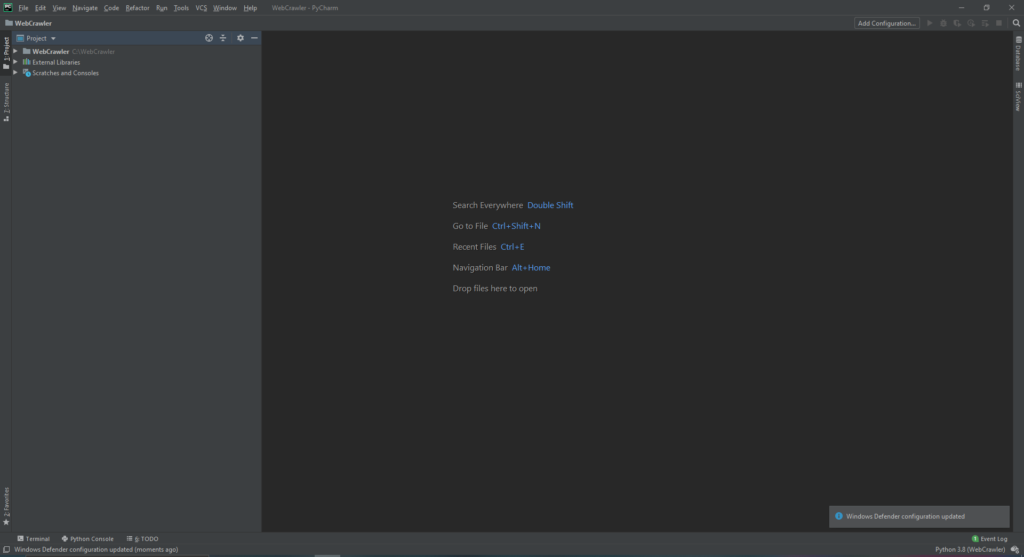
Ok, first step on our journey will be creating the project that will house your brilliant web crawler in Pycharm. When you open Pycharm (if it’s your first time, make sure to click the ‘install Miniconda’ option as you progress through the settings), you’ll be greeting with this friendly window.

Click the Create New Project file to (obviously) create our new project. You should be greeted to this window:

If it isn’t automatically selected, choose “Pure Python” from the dropdown on the left, and select “New environment” and select “Conda” from the dropdown. If you’ve installed the “Pycharm with Anaconda” package, it should automatically detect and set the location and conda executable automatically. You can change the location at the top to configure where you want the project file to be made. Assuming your conda configs are where they should be, you can just click create, and Pycharm will create your brand new Conda project for you, no command line needed.
Step 2: Avoiding command-line dependency hell with the magic of JetBrains
Now it’s time to install the dependency that will make all of your webcrawling dreams come true: Scrapy. If you’re new to python and you’re wondering “Wow, do all python libraries force the letters py into their names, even when it barely makes sense and makes the name really weird?” The answer is absolutely yes no, (if you criticize it they’ll take away your python license) it’s fun and quirky!
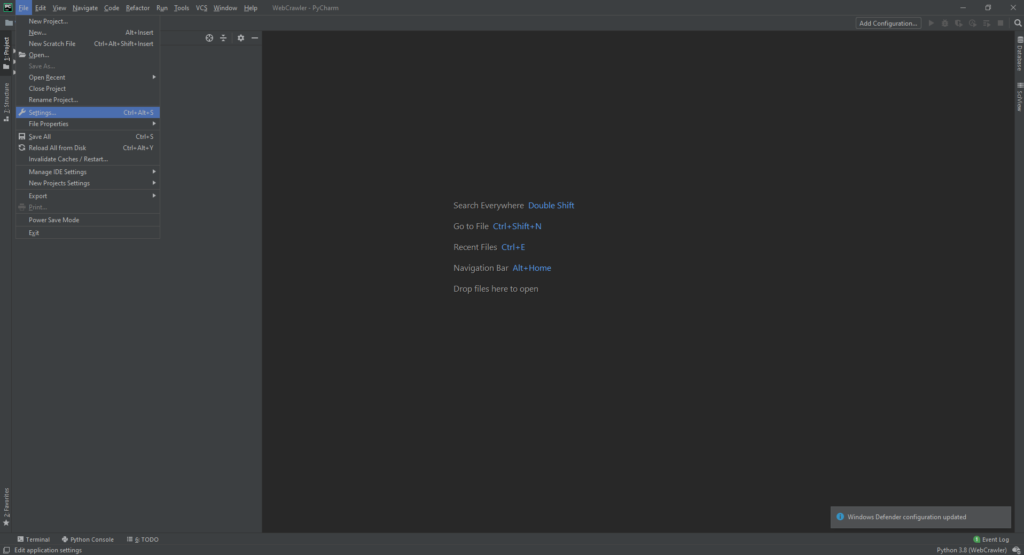
JetBrains has a built in package manager that lets you avoid the hassle of typing out the commands in the command line, so let’s use it, as the best programmers are inherently lazy individuals who use machines to do the work for them.


Step 3: Create the Initial file structure
Now, while the title of this step may sound daunting, luckily scrapy provides us with a simple command line instruction to create the proper initial structure for a scrapy project.
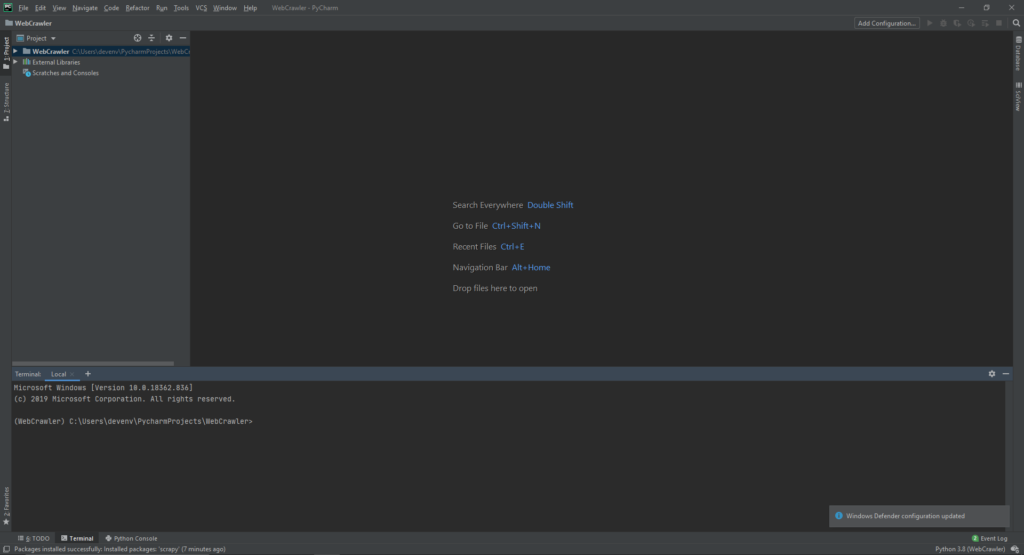

scrapy startproject yourcrawlername, where ‘yourcrawlername’ can be whatever name you want to make the project files be. Once you type in that command and hit enter, scrapy and python will automatically create the base folders and files needed in your directory for a scrapy webcrawler.
Next Steps
Next week we’ll get started on the actual coding of the web crawler, but until then if you want some homework to prepare, due to the inconsistent CSS styling and conventions seen across the internet, XPath selectors are going to become your bread and butter for actually selecting the data you’re interested in.
So if you’re feeling rusty/never knew XPath in the first place, give yourself a refresher/crash course on the selector syntax and then start using the devtools console in Chrome to start playing and testing your xpath selector skills. Because when it comes to webscraping, 70% of your time will be spent in a browser console figuring out the right XPath for what you’re scraping, 20% is wondering why your data is all mucked up, and 10% is the actual Python coding of the crawler.
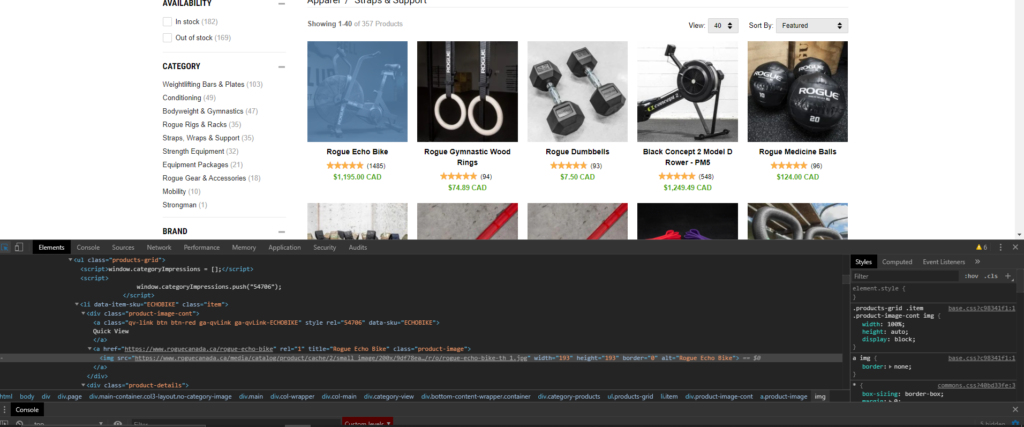

$x('yourXPathToTest')command to form and test your xpath queries in the console. This allows you to form, test, and fix your Xpath Queries with immediate feedback. Very useful.
Merely typing the XPath command will tell you the number/type of elements selected by the query, while hitting enter to input the command will allow you to check the value and exact properties of the result.
This concludes Part 1 of my introduction to Web Crawlers. Join me next week for Part 2, where I will give a brief introduction to Python for programmers in other languages (trust me, Python is easy and the only downside is that you become addicted to Python and you just want to always use it), we’ll go over writing your first webcrawler, running the crawler locally from your own computer, and then remotely on ScrapingHub’s servers.
If that doesn’t recon your fancy, then join me two weeks from now in Part 3, where I will show you the next steps to configure your webscraper to automatically upload its scraped results to your MongoDB server, and how to automate the running of your ScrapingHub spiders, to provide you with an automatically updated database of your scraped data. Pretty Neat stuff, eh?
Well, I hope you to see you Readers back next week for the next spine-tingling installment of my 3-part series on Scrapy, so in the words of the great Red Green: Keep your stick on the ice.

